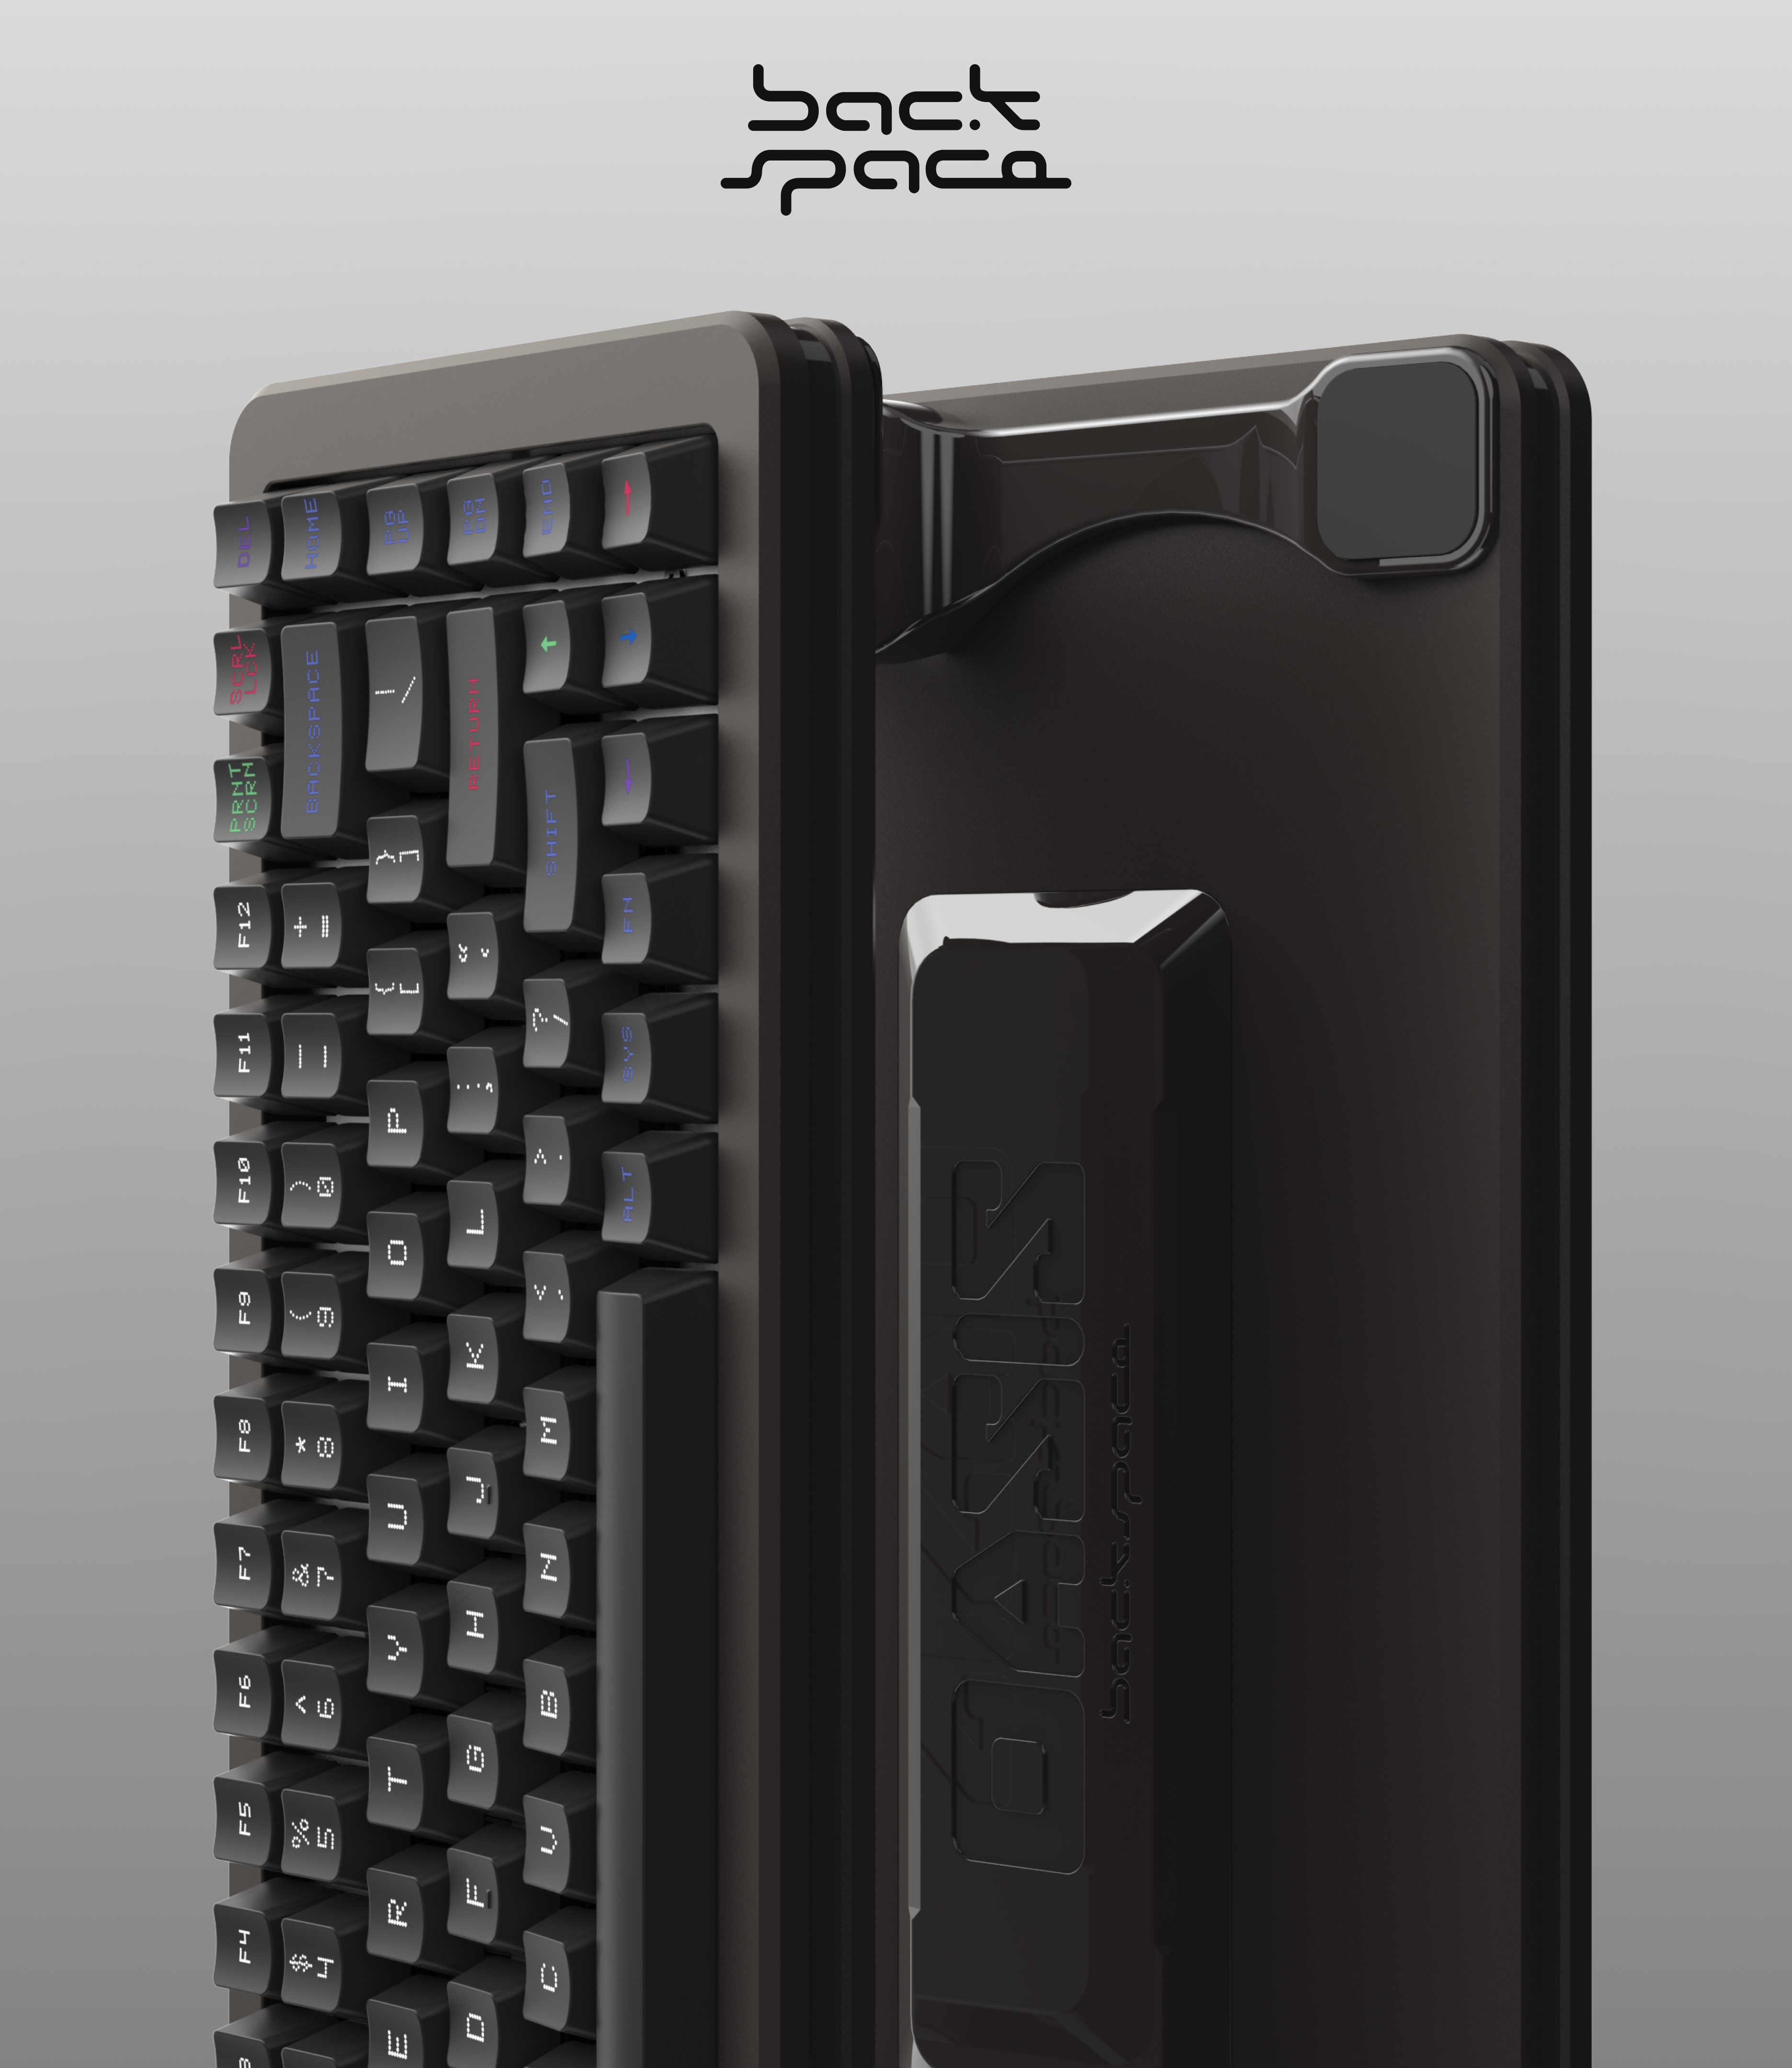
OASIS 65

1. 将轴下垫、夹心棉依次叠放在PCB上,将连接小柱扣在相应PCB孔位。
Stack the switch pad and the PCB foam on the PCB, and stick the connecting columns into the corresponding PCB hole.

2. 装上定位板,并安装轴体和卫星轴。
Install the pc plate, and then install the switches and stabilizers.

3. 将薄棉条、内胆、厚棉条依次叠放在中框上。
Stack the thin gasket pads, assembled pc plate, thick gasket pads on the middle frame.

4. 安装上盖。
Install the upper cover.

5. 翻面后,锁上螺丝固定中框和上盖。
Filp over, fix the middle frame to the upper cover with attached screws.

6. 锁螺丝固定PCB分离小板。
Fix the usb daughter board with attached screws.

7. 先铺底棉,后将PCB线缆和电池线缆插入分离小板上的卡槽。
Placing the case foam first, and then plug the PCB cable and battery cable into the slot on the daughter board.

8. 将地线带小铁环的一头放入螺丝孔位内(图中红色示意),然后锁上螺丝。
Put the small iron ring at the end of the ground wire into the screw hole (indicated in red), and then lock the screw.

9. 依次放入底棉、IXPE 底垫、不锈钢板、2mm 分离底棉、4mm 分离底棉。
Put in the case foam, IXPE foam pad, stainless steel plate, 2mm case foam, and 4mm case foam in turn.

10. 放入电池。
Put in the battery.

11. 锁上底盖螺丝。
Fix the lower cover to the middle frame with attached screws.

12. 贴上脚垫。
Stick the pads on the lower cover.

13. 完成组装!
Finish!


